Monday, May 16, 2016

How to create curve or angled mullion on regular curtain wall

Normally when creating  mullion, the limitation we cant have 2 angle when rotating the mullion angle. Here are some simple steps to create a curve or angled mullion combined with regular grid

1. First create architecture wall (curtain wall) with some mullion grid ,


 2. Selection the Curtain wall , duplicate it by copy to clipboard


  3. Paste the same curtain wall ,"with Align to Same Place" , there will be

 3.  There will be  some error message pop up, just ignore it , close out on it


 4. Click on the isolate element "sunglass icon at the very bottom"


 5. Select every click on filter, select only the grid mullion and grid and delete, (we have the mullion on the 1st curtain wall)


  6. Select the 2nd Curtain wall and click on edit type , Change the Curtain Panel = Empty System Panel: Empty. (to delete the glass , because the glass is already in the 1st Curtain Wall)


 7. Now the glass is deleted , while it is still selected , go ahead and click Edit Profile


  8. Edit your desire mullion angle or curve  (it required to be in a close shape)


 9. Dont worry if it white out, just move around to find the gridline , c


8. Click on mullion , and press on the angled grid to give mullion profile 


  9. Once completed , press on the sunglass to exit the temporary isolate


In usual case , revit don't automatically embed curtain wall if  there are both overlapping


 So when you draw a architectural wall overlapping with the existing curtain wall, error message will pop up, just ignore it


 then go to the elevation, select the 1st curtain wall and click on edit type , make sure it say automatically embed (with tick)


There you should get it properly cut out.


Source : https://www.youtube.com/watch?v=sUx7v_i9d-g

Friday, April 29, 2016

How to add RC Kerb on Staircase Railing


This post is to illustrate on the easy method to add a rc kerb for staircase railing detail in Revit, Above shown the Detail of the Railing


Step1 : Before Editing the Railing Structure, First We need to do a simple profile of the intended design of RC kerb (using "Profile Family") and Load into the Project Environment


Step 2 : Select the railing , (if is built in railing , suggest to duplicate type before doing any editing) 
and press on "Edit Type"


Step 3 :  Go to "Railing Structure (Non-Continuous) " press Edit


 Step 4: Press "Insert" at the bottom , and here you are able to set the rc kerb offset & height according , on the Profile change it to the "rc kerb profile" which loaded into the project environment earlier.


 You should able to see it now :)

Thank you !


Wednesday, April 13, 2016

How to convert Corrigendum Drawings to Contract Drawings and Making Drawings appear in Drawing List in cover sheet ?

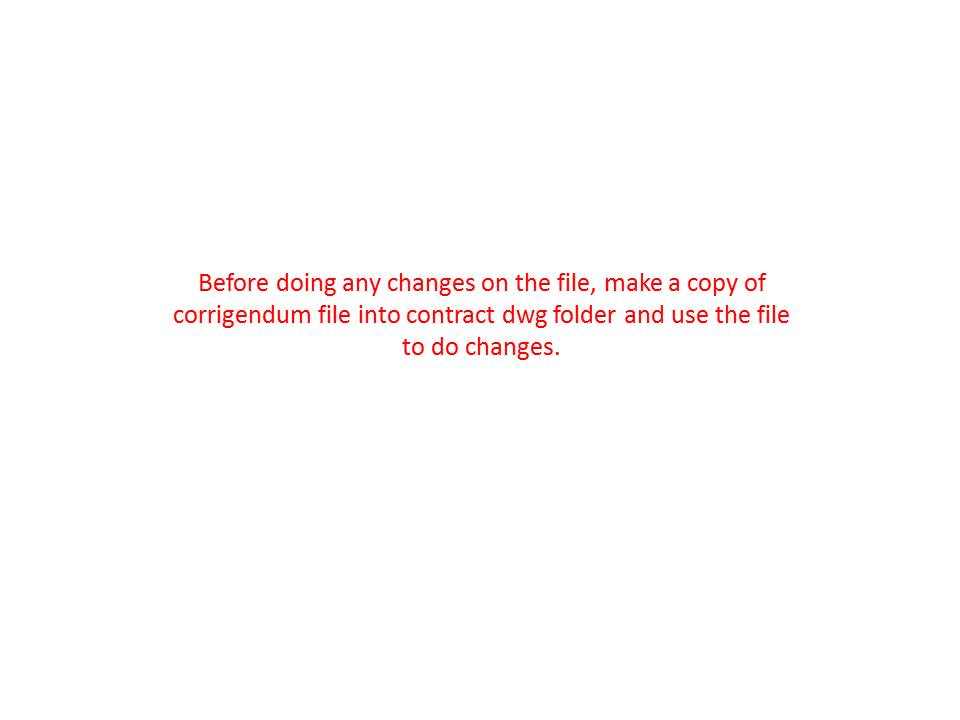
There will be a stage where we would like to capture all changes during tender period / queries / clarification and compile it and turn it into contract drawings where the contract will be based on. The most distinctive difference is the stamp and date of title block and also of course drawing list to reflect all drawings instead of only corrigendum drawings.

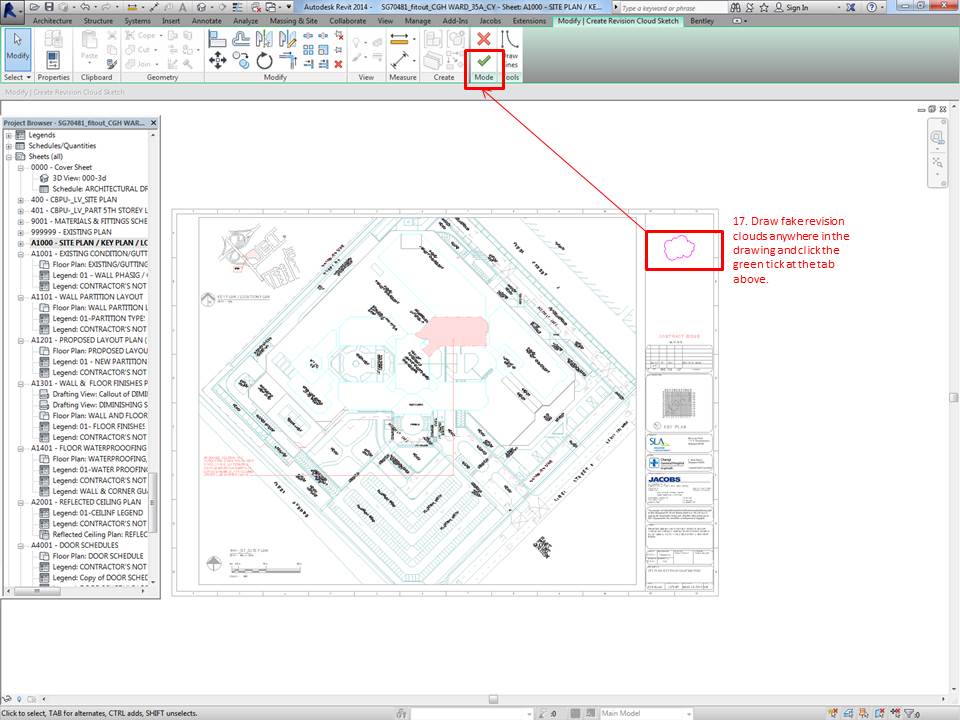
In this post, we will be posting a step-by-step how to convert corrigendum drawings to contract drawings and how to all drawings appear in drawing list in cover sheet. 


PDF of the slides can be downloaded here for reference.

In cases where you have 1000 or more drawings, there is a method where you could put in fake revision clouds faster. place a cloud in the titleblock, copy > paste > aligned selected views > pick all my sheets > set that revision to not be visible. Can be done in just 1-2 minutes.

Saturday, April 9, 2016

SINRUG : Twisting Tower

Last Tuesday, 5 April 2016,  (SINRUG) Singapore Revit User Group has organized an event to share the method of modeling a parametric tower. It was held at Singapore Autodesk Office.

 Singapore Autodesk Office 


The crowd of the night was about 80 peoples. One of the perks of being there for the conference is to help yourself with a cup of good coffee from the coffee machine and get ready for the talk.

 Here is the introduction

The agenda of the night - twisting tower

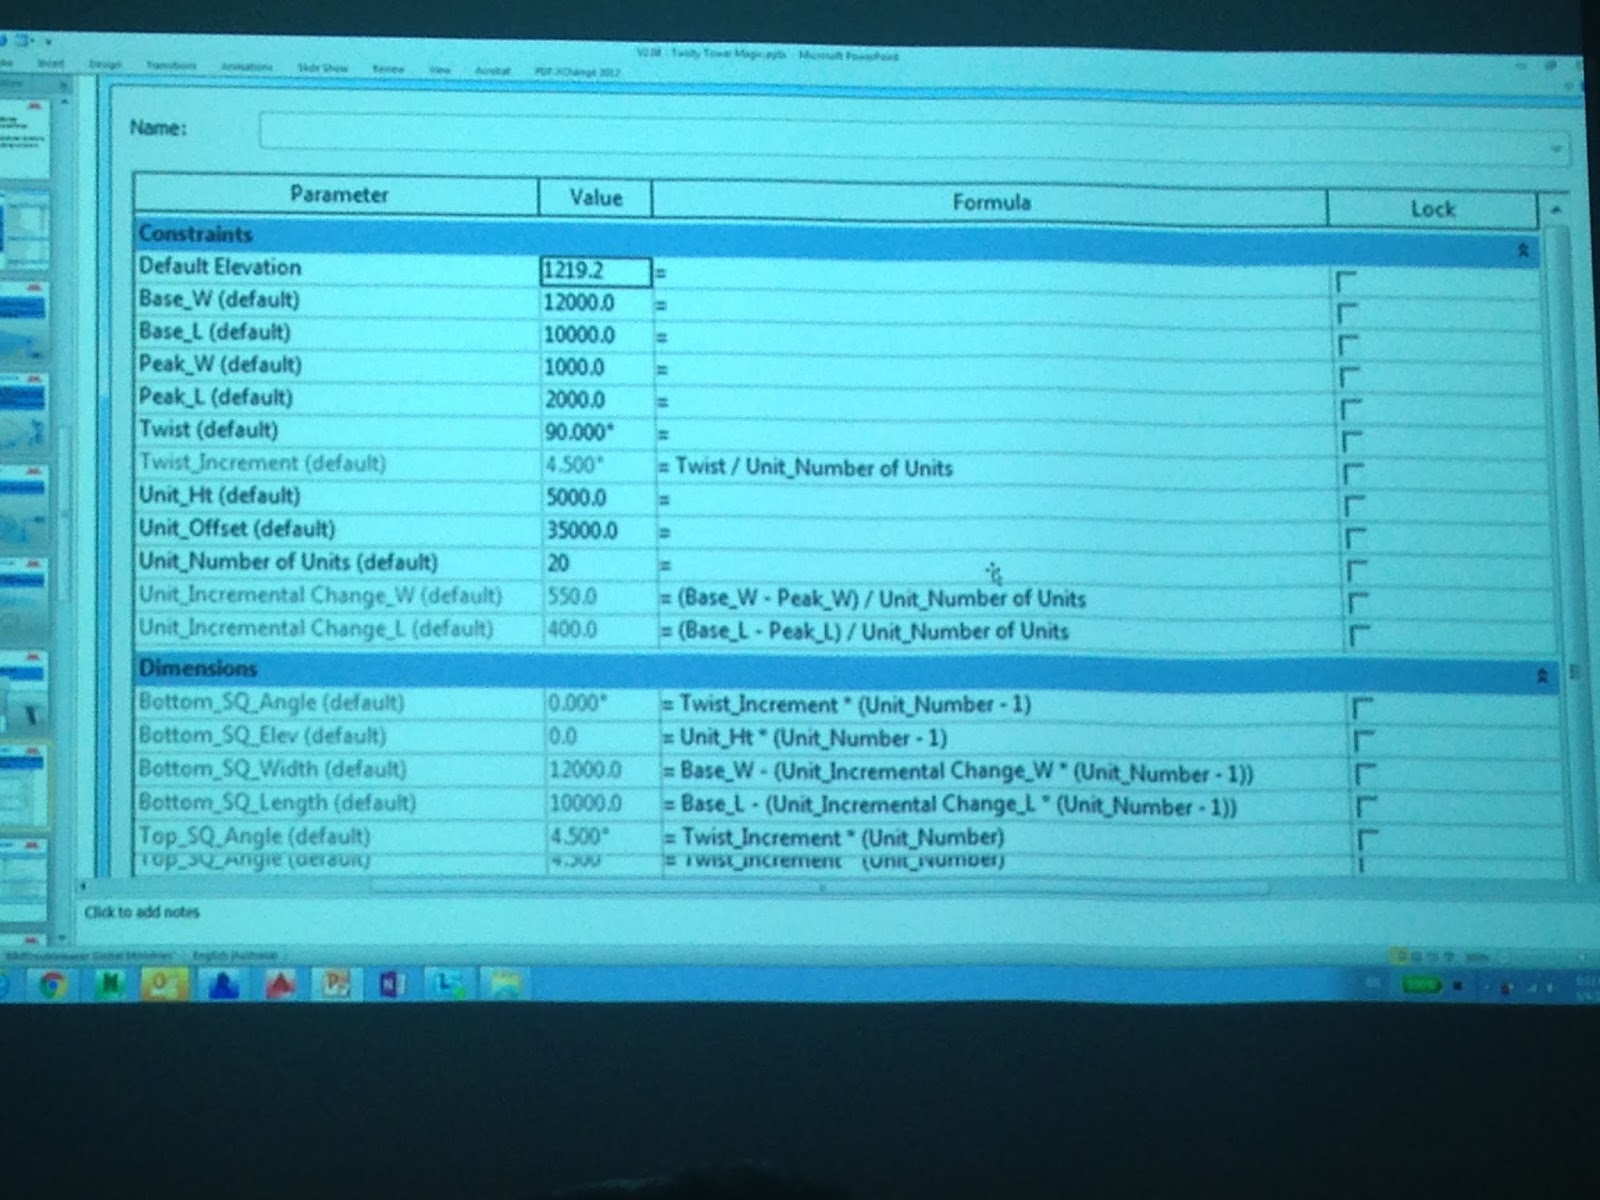
Phil the speaker of the night, explained the concept of the form building using massing environment, the concept is easy to comprehend. Basically,  The whole massing is broken into each individual unit cell (with unit height constrained by angle parameter, which is locked to the reference plane on the base.)

snap shot of the tower